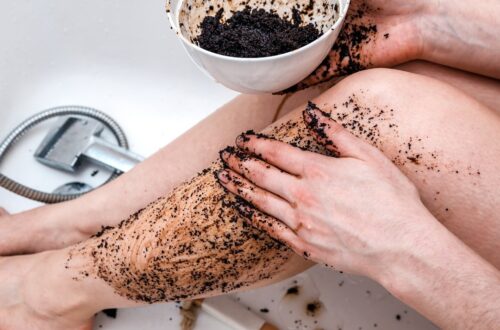
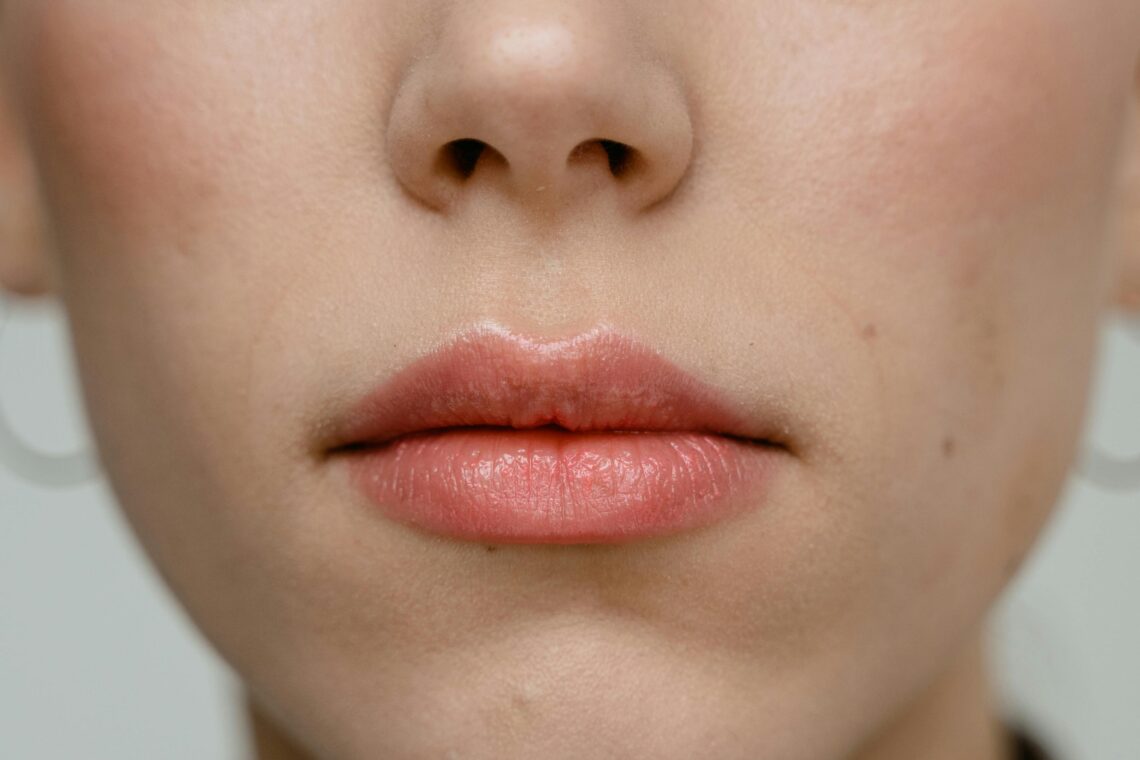
If you’re tired of dry, chapped lips and want a natural, chemical-free solution, you’ll love this! Creating your own Lip Balm DIY is easier (and more fun) than you think.
With a few kitchen ingredients and some creativity, you can make lip balms that are nourishing, safe, and smell amazing.
The best part? You get to control what goes into it—no hidden chemicals, no artificial fragrances, and no unnecessary spending. Whether you want a tinted balm, a glossy finish, or a healing blend for cracked lips, these DIY lip balm recipes are tested, effective, and totally beginner-friendly.
Why Choose Lip Balm DIY?
Before diving into the recipes, let’s understand why DIY lip balm is so popular among beauty lovers:
-
Natural Ingredients: You know exactly what you’re applying to your lips.
-
Budget-Friendly: A few natural ingredients can make several lip balms.
-
Customizable: Add your favorite oils, colors, and scents.
-
Hydration Boost: Natural oils and butters deeply nourish the lips.
-
Perfect Gifts: Homemade lip balms make thoughtful, personalized presents.
1. Basic Lip Balm DIY (Perfect for Beginners)
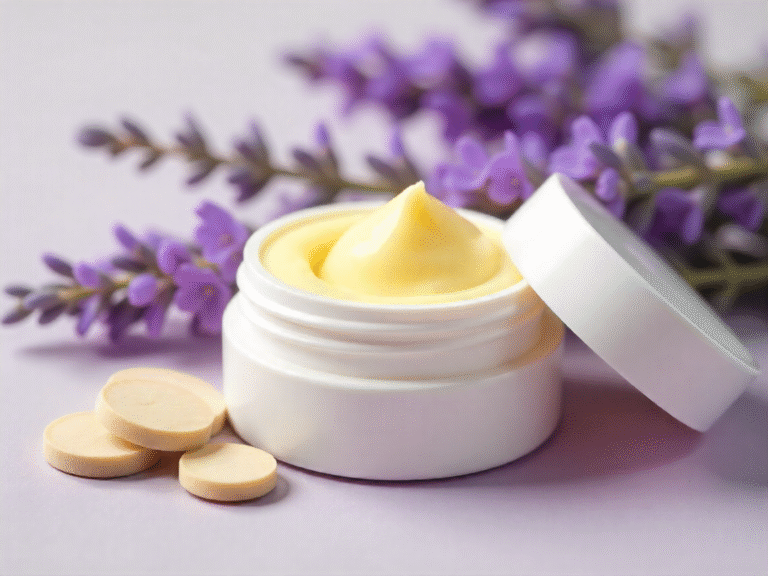
Ingredients:
-
1 tbsp beeswax pellets (or soy wax for a vegan option)
-
1 tbsp coconut oil
-
1 tbsp shea butter or cocoa butter
-
A few drops of essential oil (like peppermint or lavender)
Method:
-
Melt beeswax, coconut oil, and butter in a double boiler or a microwave-safe bowl.
-
Stir until everything blends into a smooth liquid.
-
Remove from heat and add your favorite essential oil.
-
Pour into small lip balm containers or empty lipstick tubes.
-
Let it cool and solidify for 30–40 minutes.
Result:
Soft, glossy, and smooth lips with a hint of natural scent. This classic recipe is hydrating and perfect for everyday use.
2. Tinted Lip Balm DIY (For That Natural Glow)
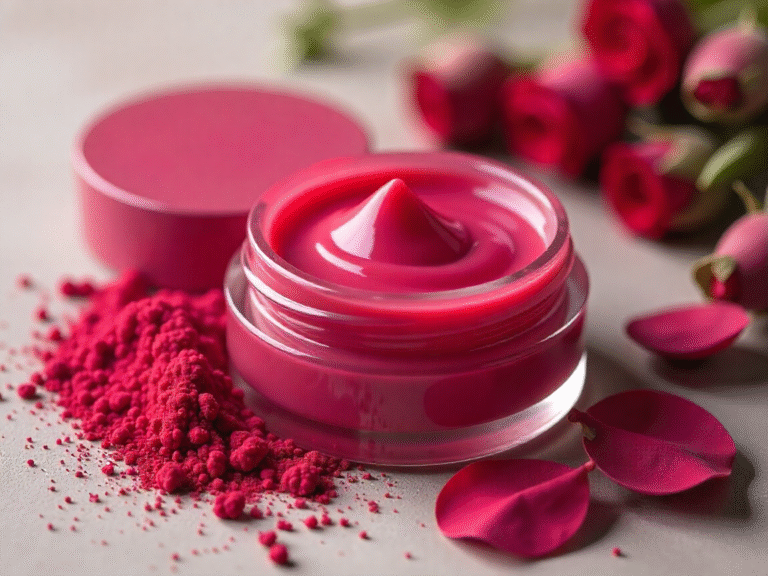
Ingredients:
-
1 tbsp beeswax
-
1 tbsp coconut oil
-
1 tsp cocoa butter
-
¼ tsp beetroot powder or mica powder (for color)
-
2 drops vanilla or rose essential oil
Method:
-
Melt beeswax, coconut oil, and cocoa butter together.
-
Add beetroot powder and stir until evenly mixed.
-
Once slightly cooled, add the essential oil.
-
Pour into lip balm tins and let it set.
Result:
A lovely pink-tinted lip balm that gives your lips a soft sheen and rosy color—completely natural and chemical-free!
3. Healing Lip Balm DIY (For Dry or Cracked Lips)
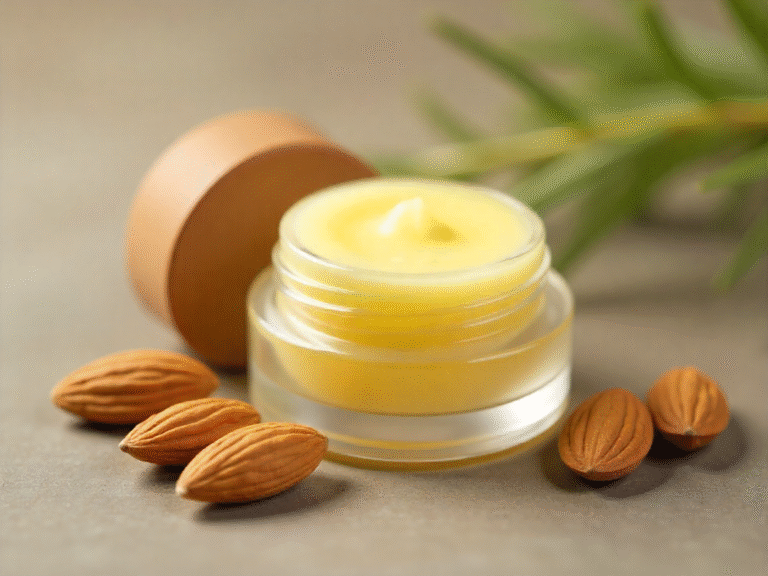
ngredients:
-
1 tbsp shea butter
-
1 tbsp beeswax
-
1 tbsp almond oil or jojoba oil
-
2 drops of tea tree or lavender essential oil
Method:
-
Melt shea butter, beeswax, and almond oil.
-
Add essential oil and stir well.
-
Pour into containers and let it cool completely.
Result:
This balm deeply heals and repairs dry, cracked lips. Shea butter locks in moisture, and tea tree oil helps prevent infection.
4. Glossy Lip Balm DIY (For a Shiny, Smooth Finish)
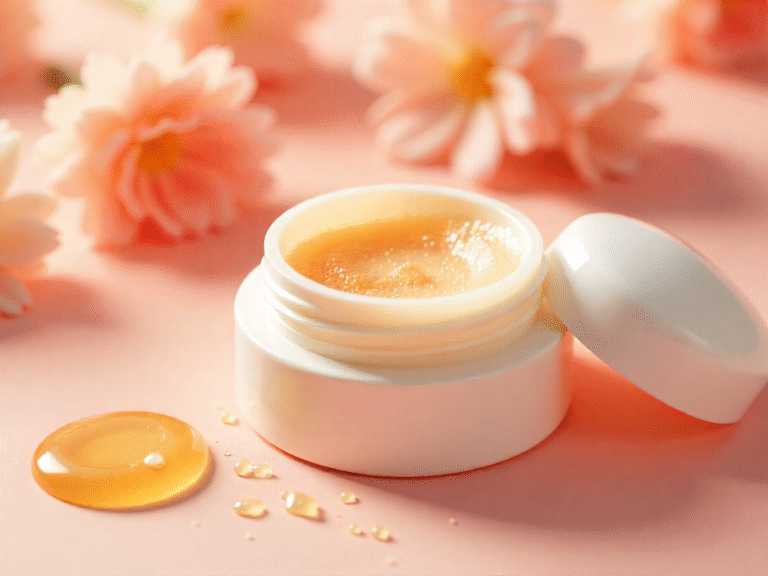
Ingredients:
-
1 tbsp petroleum jelly or shea butter
-
½ tbsp coconut oil
-
½ tsp honey
-
Optional: a pinch of shimmer powder
Method:
-
Warm petroleum jelly and coconut oil together until melted.
-
Add honey and shimmer powder (if using).
-
Mix well and pour into small jars.
Result:
You’ll get a natural glossy balm that leaves your lips shiny, soft, and irresistibly smooth. Perfect for daytime glam or a night out.
Extra Tips for the Perfect Lip Balm DIY
- Storage: Keep your DIY lip balms in a cool, dry place.
- Shelf Life: They usually last 3–6 months.
- Customization: Mix different essential oils or natural tints to create unique flavors and colors.
- Hygiene: Always sanitize containers before use.
Final Thoughts
Creating your own lip balm DIY is more than just a skincare trend—it’s self-love in a jar. Try these recipes, customize them to your taste, and let your lips soak in the goodness of nature.
‘Glow Naturally, Live Softly’